Stained glass art is an intimidating form of visual expression. There’s so much that goes on within a single piece. It’ll mesmerize you but will also make you feel extremely unskilled because of how much time, patience, and expertise it requires. The work that goes into creating stained glass art is immeasurable.
A common concern, bigger than the art itself, is the supply needed to create the piece. Every website available will give you a long list of tools with descriptions that are going to go over your head, especially if stained glass art is a new hobby for you instead of a way to earn your daily bread and butter.
However, you have nothing to be worried about. In this article, we will talk about what are the tools needed for stained glass art, and make this process as wholesome and simple for you as we can.
Also check: Stained Glass Starter kit
What Is Stained Glass Art?
As the name suggests, this form of art involves using glass to make designs and windows. You’ll generally find them in churches, museums, and several other institutions, especially in Europe.
Besides the amount of intricacy stained glass art involves, it also allows light to pass through, creating a picturesque shadow you’ll find in a lot of cinematically inclined movies. Along with these perks, this art form will make you feel a sense of achievement and pride when you’re done creating your piece. It’ll take up time and effort, but all of that will be worth it in the end.
What Are The Processes Involved In Glass Art?
Stained glass art will push you to get into the nitty-gritty of design, especially when you’re very much familiar and comfortable with it. The reason why we’re going into the process before the tools is simple-
it will determine the supply you need. Choose to skip through a step, and you’ll require lesser tools, whereas adding new steps as per your expertise will cost you more. Below are a few of the most common approaches one takes despite their level:
1. Creating a Design
Before you begin using glass, you need to know what exactly you want to create. Draw a few sketches here and there, pop in some personal and memorable features, or simply take inspiration from pre-made arts.
2. Tracing
Now that you’re done finalizing your design, you need to trace it over your glass. There are tools specially made to ensure this step is executed easily. We’ll cover that too. Keep in mind that your design on paper may not be of the same size as your glass. Scale it accordingly. Use graph paper to prevent any sort of confusion!
3. Cutting your Glass
After tracing, you need to align your glass shards/pieces as per your design. To do that, you’ll have to use a special tool that allows you to cut both straight and curved lines.
4. Grinding
It’s time to smoothen your edges to make sure your glass pieces fit perfectly with each other. Put the pieces back on your traced design to see how close in shape and size they are. Keep working on it until you’re satisfied with the fit!
5. Foiling
One of the most important steps is to take your copper foil and glue it along with the corners of your glass shards. This does not mean using adhesive. Instead, peel off the protective guard from your copper foil and start to join all pieces together.
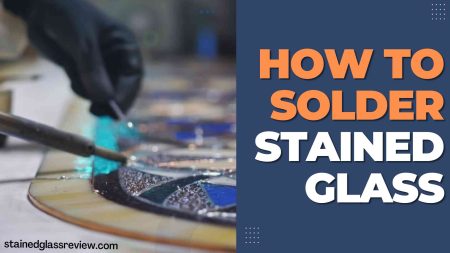
6. Soldering
The most essential point in the entire process. Although this may be slightly tricky and time-consuming, it is what gets your artwork together. Soldering involves using a sticky liquid to make those 10 different glass pieces, into one.
7. Final Touches and Hanging
Now that you’re done with your stained glass art, add any final touches to take it to the next level. Once the project is complete, hang it wherever you want it to shine!
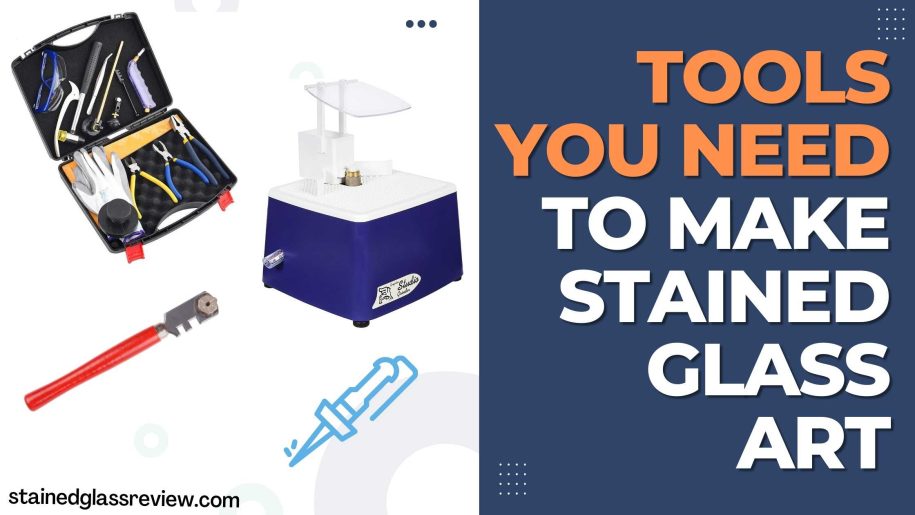
What Are The Tools Needed For Stained Glass Art?
1. Safety Gear
We must always ensure our surroundings are safe and so are we. Following is a list of potential gear you might want to purchase:
| Safety Glasses | To ensure none of the glass pieces pokes your eyes |
| Safety Gloves | These will keep your hands safe from glass shreds/pieces |
| Ear protector | Afraid that the grinder noise will make you go deaf? You need not now |
| Finger protector | For folks with delegate nails or nail polish perhaps, these will keep your fingernails safe from all the hard labour |
2. The Basics
These tools are probably lying around your house, waiting to be used. Go collect them quickly:
| Pencil, eraser, sharpener | For all the sketching and designing you’ve got to do. |
| Marker/Sharpie | This will help you trace your final design. As suggested by its name, it will leave a permanent mark. |
| Ruler | Love being a perfectionist? Well, draw straight lines and make your design completely symmetrical. |
| Tracing/Graph Paper | These will ensure your design is copied on the glass without any errors. |
| Scissors | Could be used to cut out your design or to speed up the grinding process in some cases- Scissors might just help cut off the excess. |
| Tracing Box Light | Emits light underneath your glass to ensure you can see your design easily and trace it to perfection. |
3. All about Glass
This section covers all the tools that are either made out of glass or will assist you when dealing with glass.
| Glass | The most basic material you need is glass. Choose the type and thickness as per your design! |
| Glass Cutter | An easy-to-operate tool that will help you cut a big piece of glass into tinier, more intricate pieces. Works like a pizza cutter with a wheel. “The pistol grip” is commonly used since it has the same hold like a pencil. |
| Glass cutter oil | Lubricating your glass with oil will not only make it easier for you to cut it into pieces but will also better the shape. |
| Glass Saw | This tool will give you the edge over a regular glass cutter. It’s got a series of blades, most commonly shaped like a ring that will help you cut your glass with utmost precision. |
| Glass Grinder | Great to use when you’re about to begin your grinding process. It will smoothen out the edges and take off any excess, unwanted pieces from each of the glass shards. |
| Stained Glass Patina | This will give your art a finishing, glossy look. Coat it well. |
4. The Metals
Anything and everything to do with metals. From machines to break it down to the actual product.
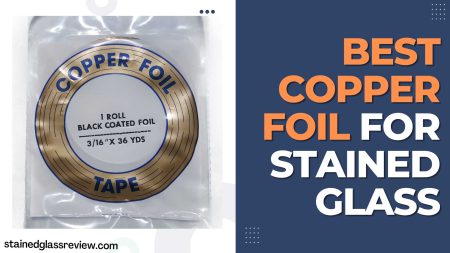
| Copper Foil and Fid tool | The long strings of copper with one peel-off side that acts like an adhesive. This is necessary to stick your shards together. The fid tool can be used to press the copper against the glass- Double protection |
| Copper Foiling machine | Optional tool. Reduces the time of completion. When foiling the copper wires, we have to do a lot of manual work, whereas with this machine you simply place your foil in and roll it on the edges. |
| Lead/Zinc Framing | A lot of times copper doesn’t work out with unusual and ambitious shapes. That’s when these stronger metals walk into the picture. |
5. Soldering
This segment is entirely dedicated to the last step since it requires quite a lot of tools.
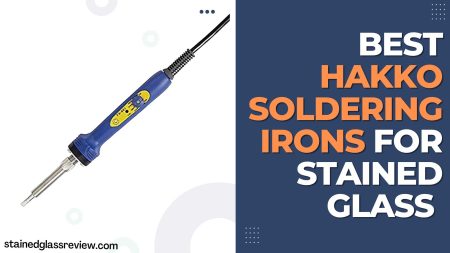
| Soldering Iron | Make your copper melt and stick to the glass to join them together. It’s got a very fine tip with high temperatures. 60/40 solder for stained glass art is appropriate. |
| Solder remover | As suggested by the name, this solder product will remove any excess solder on your glass. |
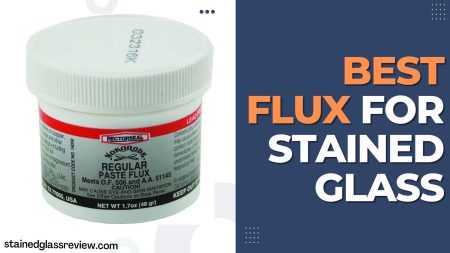
| Flux and Flux Brush | Cleans the metal during the soldering process to ensure they stick together more adequately. Oxidation is minimized. |
6. The Pliers
The best tool when combined with glass. Find below the types you will require:
| Running pliers | Uses a basic scientific concept of pressure to break the glass. The mouth of the plier opens both ways and applies pressure on either side of the glass for it to shreds. |
| Grozing Pliers | Same function as the running pliers, but for smaller, more delicately-shaped and sized glass shards. |
Conclusion
These are the tools needed for stained glass art for both beginner and proficient levels. You must be aware of how easily these tools can empty your pockets, so buy only what you really need. Our advice is to buy the basic supply first, try out and practice the art for as long as you feel comfortable. In case your hobby turns into something a little more serious, you could always take a trip down the amazon rabbit hold to purchase more. Good luck!



![5 Best Stained Glass Saw [ Achieve the Shape You Desire ]](https://stainedglassguru.com/wp-content/uploads/2022/07/Best-Stained-Glass-Saw-450x253.jpg)
